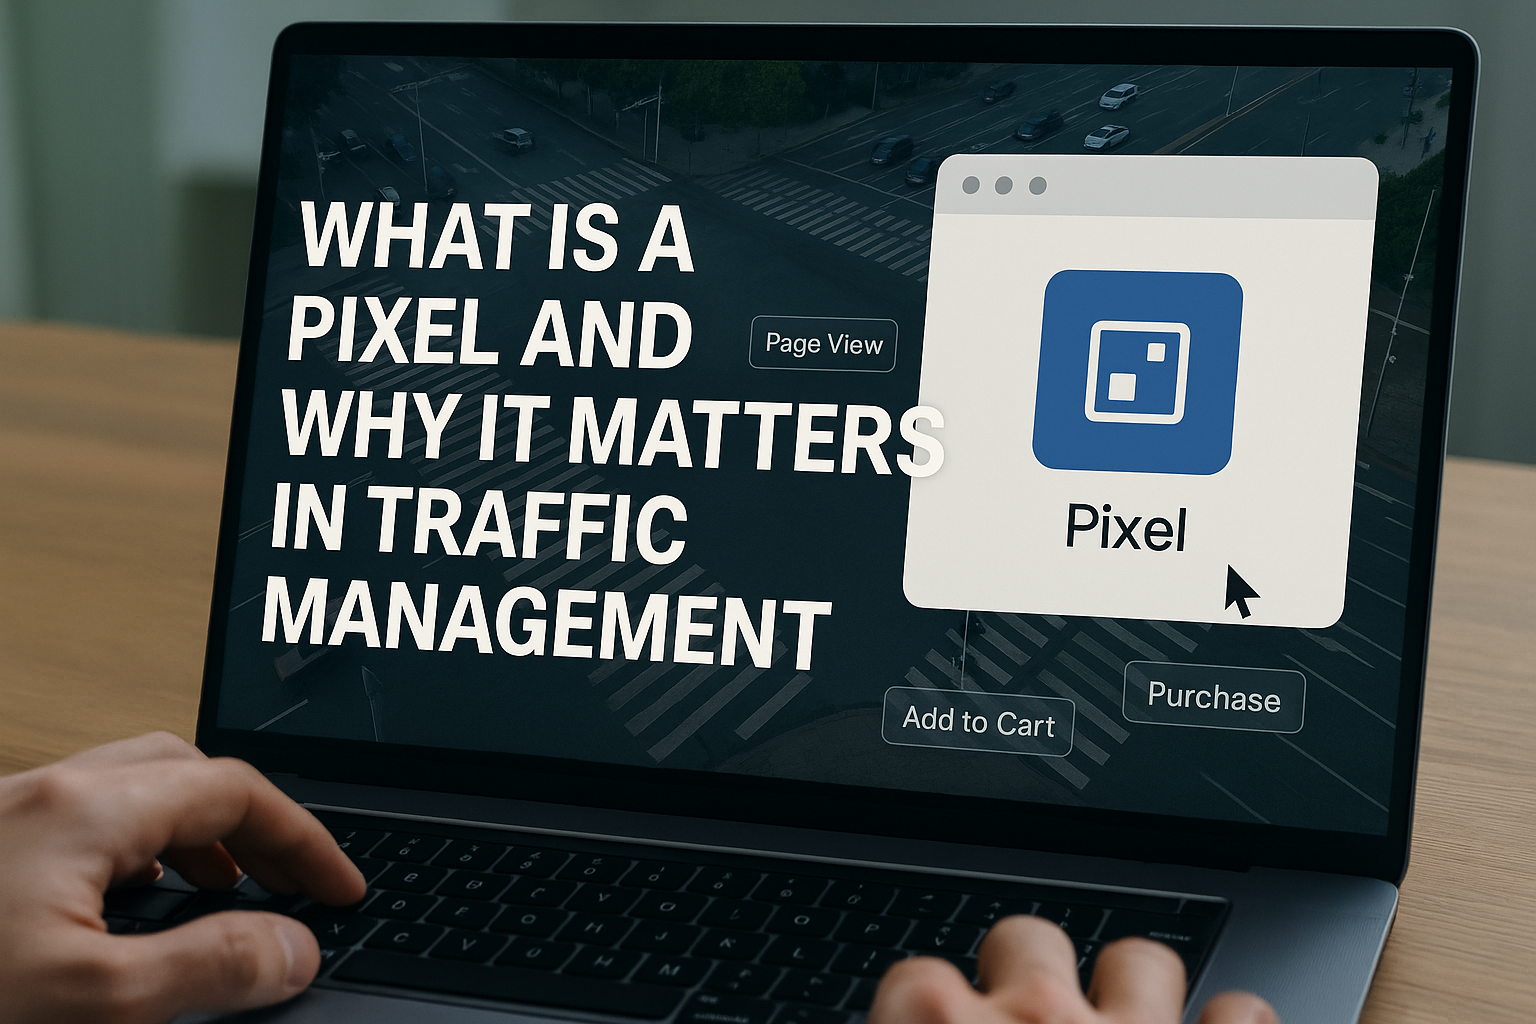
If you’re getting serious about traffic management, there’s one tool you simply can’t ignore: the pixel.
Whether you’re running Facebook Ads, Google Ads, or other digital campaigns, installing and using pixels correctly is essential for tracking, optimizing, and scaling your campaigns. Yet, many beginners either skip this step or don’t understand how powerful it really is.
In this guide, we’ll explain exactly what a pixel is, how it works, and why it’s one of the most important tools in the toolbox of every traffic manager.
What Is a Pixel in Digital Marketing?
A pixel is a small piece of code that you place on your website to track user actions and behavior. It’s invisible to visitors, but powerful in the background.
Depending on the platform, it might also be called:
- Facebook Pixel (Meta Pixel)
- Google Ads Global Site Tag
- TikTok Pixel
- Pinterest Tag
- LinkedIn Insight Tag
Despite the different names, they all have the same core purpose: to help you measure the effectiveness of your ads and gather data that improves your future campaigns.
How Does a Pixel Work?
When someone clicks on your ad and lands on your website, the pixel:
- Fires (activates) when the page loads or a specific action is taken
- Sends data back to the ad platform (like Meta or Google)
- Tracks events like:
- Page views
- Add to cart
- Purchase
- Lead form submission
- Button clicks
- Time on site
This data allows you to:
- Measure conversions
- Optimize ad delivery
- Build custom audiences
- Retarget users who didn’t convert
- Create lookalike audiences
Why Pixels Matter for Traffic Managers
If you want to be seen as a professional traffic manager, understanding and using pixels is non-negotiable.
Here’s why:
✅ 1. Accurate Conversion Tracking
You can’t improve what you don’t measure. Without a pixel, you don’t know:
- Which ad or keyword generated a lead
- How many people bought your product
- What actions users took after clicking
Pixels turn anonymous clicks into actionable insights.
✅ 2. Smarter Campaign Optimization
Ad platforms use machine learning to optimize your ads — but they need data to do that.
With pixel data, the algorithm can:
- Show ads to people more likely to convert
- Adjust delivery times or placements
- Improve ROI automatically over time
This is especially important for conversions-based campaigns.
✅ 3. Retargeting Opportunities
One of the most profitable strategies in paid media is retargeting — showing ads to users who already interacted with your brand.
Examples:
- Show an ad to someone who added a product to the cart but didn’t purchase
- Remind a visitor who read your blog to download your ebook
- Offer a discount to someone who visited a pricing page
None of this is possible without a pixel.
✅ 4. Audience Building and Lookalikes
With pixel data, you can build:
- Custom Audiences (people who visited your website, watched a video, clicked a button)
- Lookalike Audiences (new people who behave like your past visitors)
This allows you to scale your campaigns to wider audiences without losing targeting accuracy.
Real-World Example
Let’s say you’re running a Facebook ad campaign for a local gym. You want to get new sign-ups through a lead form.
Without a pixel:
- You get clicks, but have no idea who actually submitted the form
- You can’t retarget those who didn’t complete it
- You can’t optimize the campaign for lead submissions
With a pixel:
- You know exactly how many leads came from which ad
- You can show new ads to people who didn’t complete the form
- You let Facebook optimize the delivery to people more likely to convert
That’s the difference between guessing and scaling.
How to Set Up a Pixel (Step-by-Step Overview)
Let’s use the Meta Pixel as an example.
Step 1: Create the Pixel
- Go to Meta Events Manager
- Click “Add a New Data Source”
- Choose “Web” > “Facebook Pixel”
- Name your pixel
Step 2: Install the Pixel on Your Website
You can do this via:
- Manual installation (copy-paste the code into your website header)
- Google Tag Manager (preferred for most marketers)
- Partner integrations (Shopify, WordPress, Wix, etc.)
Step 3: Set Up Events
Use standard events (like Purchase, Lead, Add to Cart) or custom events.
Track them via:
- Code
- Event Setup Tool (no coding required)
- Tag Manager triggers
Step 4: Test and Verify
Use:
- Meta Pixel Helper Chrome extension
- Events Manager diagnostics tab
- Test Events tool to simulate real actions
Google Ads Pixel (Global Site Tag)
The same process applies to Google Ads — but using the Global Site Tag or Google Tag.
You’ll:
- Generate a conversion tracking tag
- Place it on your website (or via GTM)
- Track form submissions, purchases, or any goal
- Use that data to optimize search, display, or YouTube ads
Common Pixel Mistakes to Avoid
Even experienced marketers make these errors:
- Not verifying pixel installation
- Forgetting to set up conversion events
- Tracking the wrong event (e.g., page view instead of actual lead)
- Using only “All Website Visitors” for retargeting
- Not refreshing lookalike audiences regularly
Avoiding these mistakes keeps your data clean and campaigns effective.
Final Thoughts: Install the Pixel Before You Need It
One of the best habits to develop as a traffic manager is to install the pixel from day one, even before you start running ads.
It begins collecting data immediately — and that data becomes your most valuable asset when it’s time to launch or scale.
The pixel is the brain behind smart traffic management.
Use it well, and your campaigns will always be one step ahead.
